
Tidak ada produk di keranjang.

DAPPRA DPR-2440-NPN-NC Industrial Area Sensor Installation Guide
Installation Guide
DPR-2440-NPN-NC Installation & Alignment Guide
Step-by-step instructions for mounting, aligning, wiring and commissioning the DAPPRA DPR-2440-NPN-NC 24-beam Industrial Area Sensor and Safety Light Curtain.
Introduction
The DAPPRA DPR-2440-NPN-NC is a 24-beam Industrial Area Sensor and Safety Light Curtain designed for object detection, machine protection and personnel protection. This guide describes the recommended installation, alignment and wiring procedure for the sensor pair.
For full product specifications, visit the DPR-2440-NPN-NC product page.
Safety Precautions
⚠ WARNING: This sensor is a safety-related device. Incorrect installation,
wiring or configuration can result in serious injury or machine damage. Installation
must be performed by qualified personnel only.
- Disconnect power before mounting or wiring the sensor.
- Verify the machine risk assessment before final installation.
- Use a safety relay or safety controller where required by the application.
- Do not modify, disassemble or bypass the sensor.
- Ensure the transmitter and receiver are mechanically protected from impact.
- Maintain the specified safety distance from the machine hazard zone.
Package Contents
- 1 × Transmitter — Infrared beam transmitter
- 1 × Receiver — Infrared beam receiver
- 2 m connection cables — Pre-terminated cables
- M12 connection — Standard industrial connector
- Mounting accessories — Brackets and screws
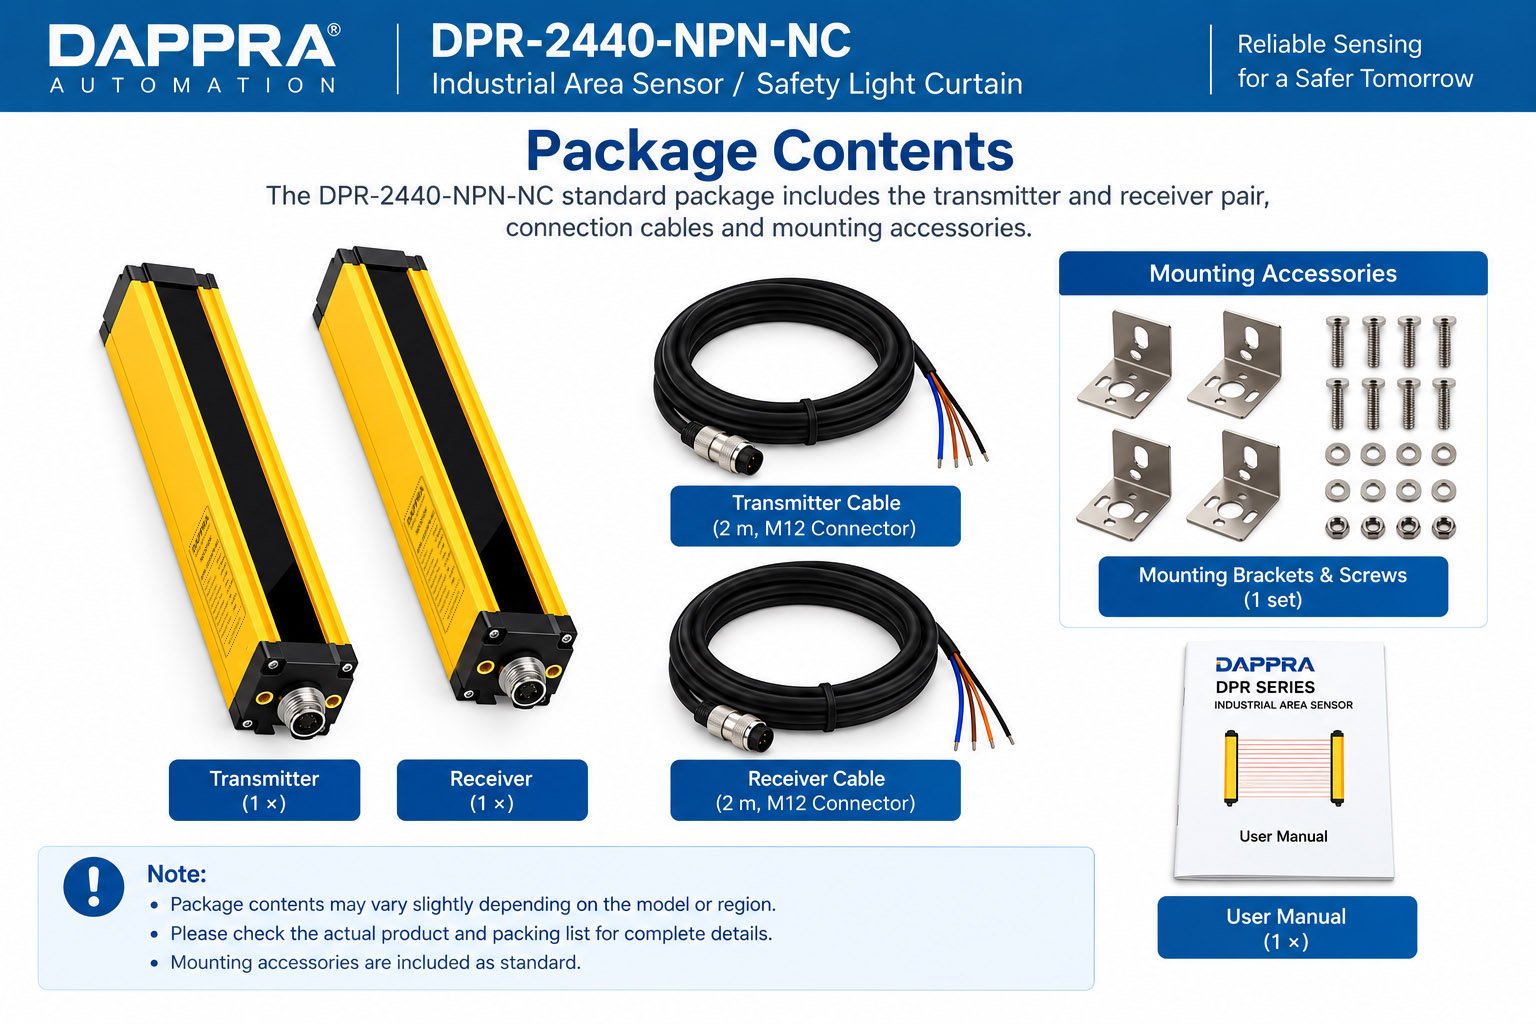
DPR-2440-NPN-NC standard package contents
Mounting Steps
- Mark the mounting positions — Mark the mounting holes on both sides of the machine opening according to the CAD drawing.
- Install the mounting brackets — Fix the brackets securely to the machine frame.
- Mount the transmitter and receiver — Attach the transmitter and receiver to the brackets, facing each other.
- Adjust the vertical position — Ensure the protection height covers the required machine opening.
- Tighten all screws — Verify the mounting is secure and free from vibration.
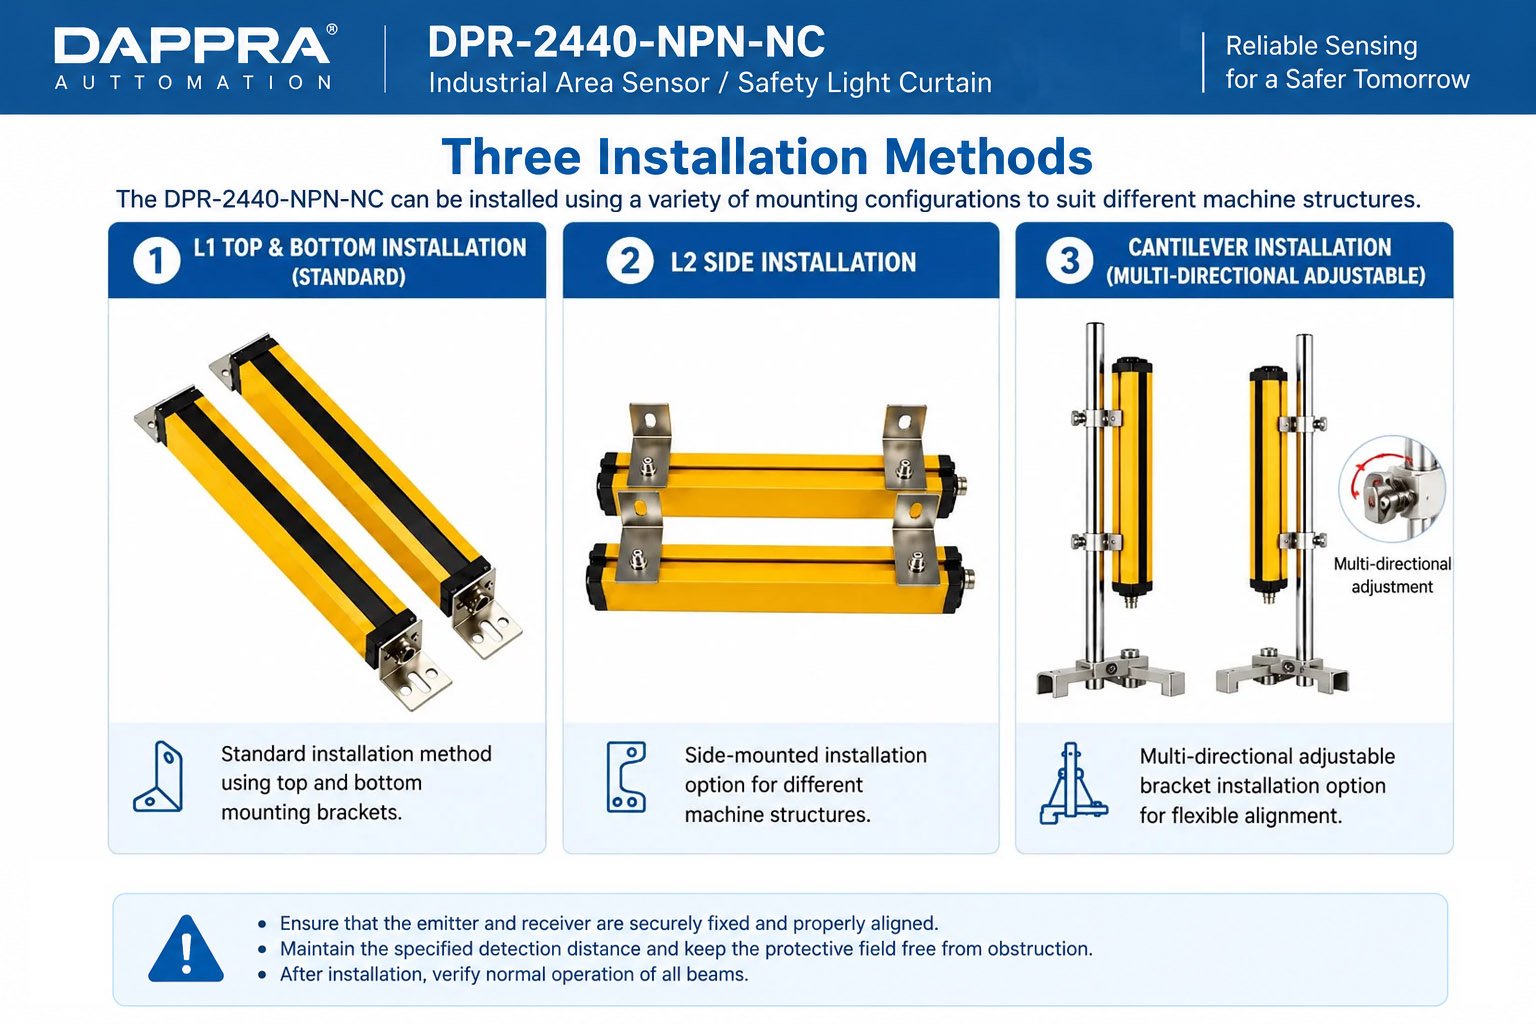
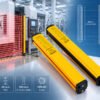
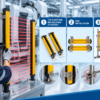
Installation options for the DAPPRA DPR-2440-NPN-NC Area Sensor
Transmitter & Receiver Alignment
Correct alignment between the transmitter and receiver is essential for reliable multi-beam detection. The transmitter and receiver must be aligned across the complete 920 mm sensing height.
- Loosen the mounting screws slightly — Allow small adjustments of the transmitter and receiver.
- Power on the sensor — Apply DC24V ±20% supply voltage.
- Check the alignment indicator — Verify the receiver detects all 24 beams.
- Adjust the transmitter position — Move the transmitter until the alignment indicator shows a stable state.
- Adjust the receiver position — Move the receiver until all beams are detected.
- Tighten the mounting screws — Secure the transmitter and receiver without disturbing alignment.
- Verify alignment — Confirm all 24 beams are correctly detected across the full 920 mm protection height.
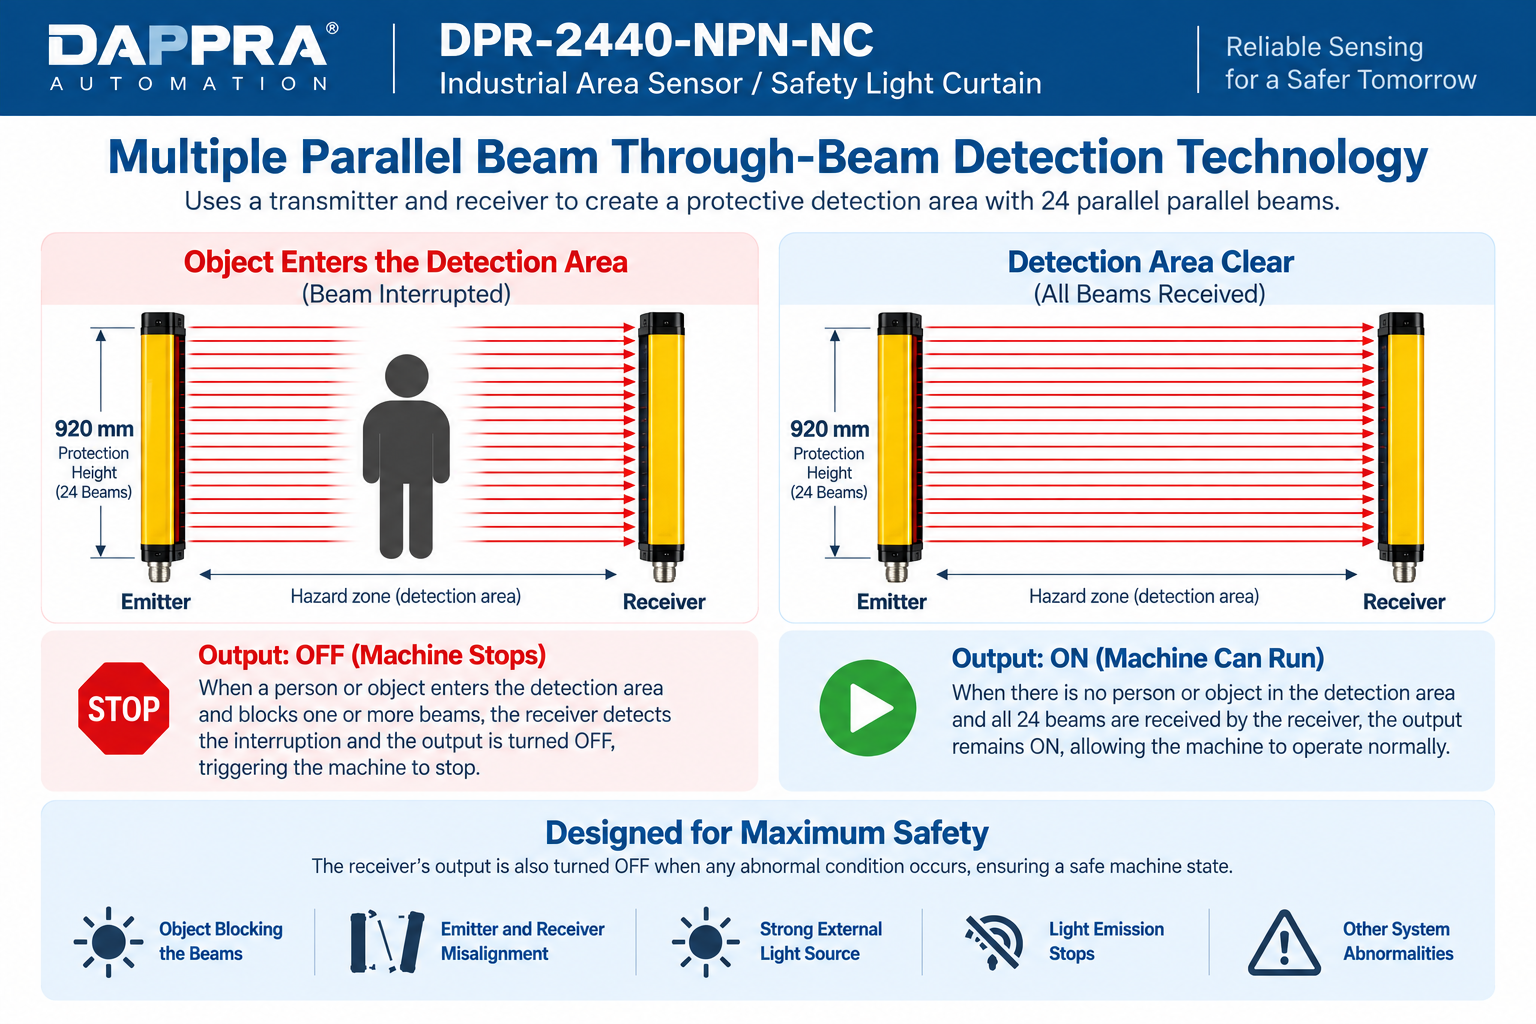
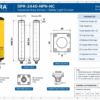
Alignment reference for the DPR-2440-NPN-NC
Electrical Wiring
The DPR-2440-NPN-NC uses an NPN transistor output with Normally Closed (NC) signal logic.
| Electrical Configuration | Specification |
|---|---|
| Supply Voltage | DC24V ±20% |
| Output Type | NPN |
| Signal Logic | NC (Normally Closed) |
| Control Interface | Suitable for compatible PLC and control-system inputs |
For the specified NC configuration, normal beam transmission produces a 0V output and beam interruption results in no output. For complete product details, see the DPR-2440-NPN-NC product page.
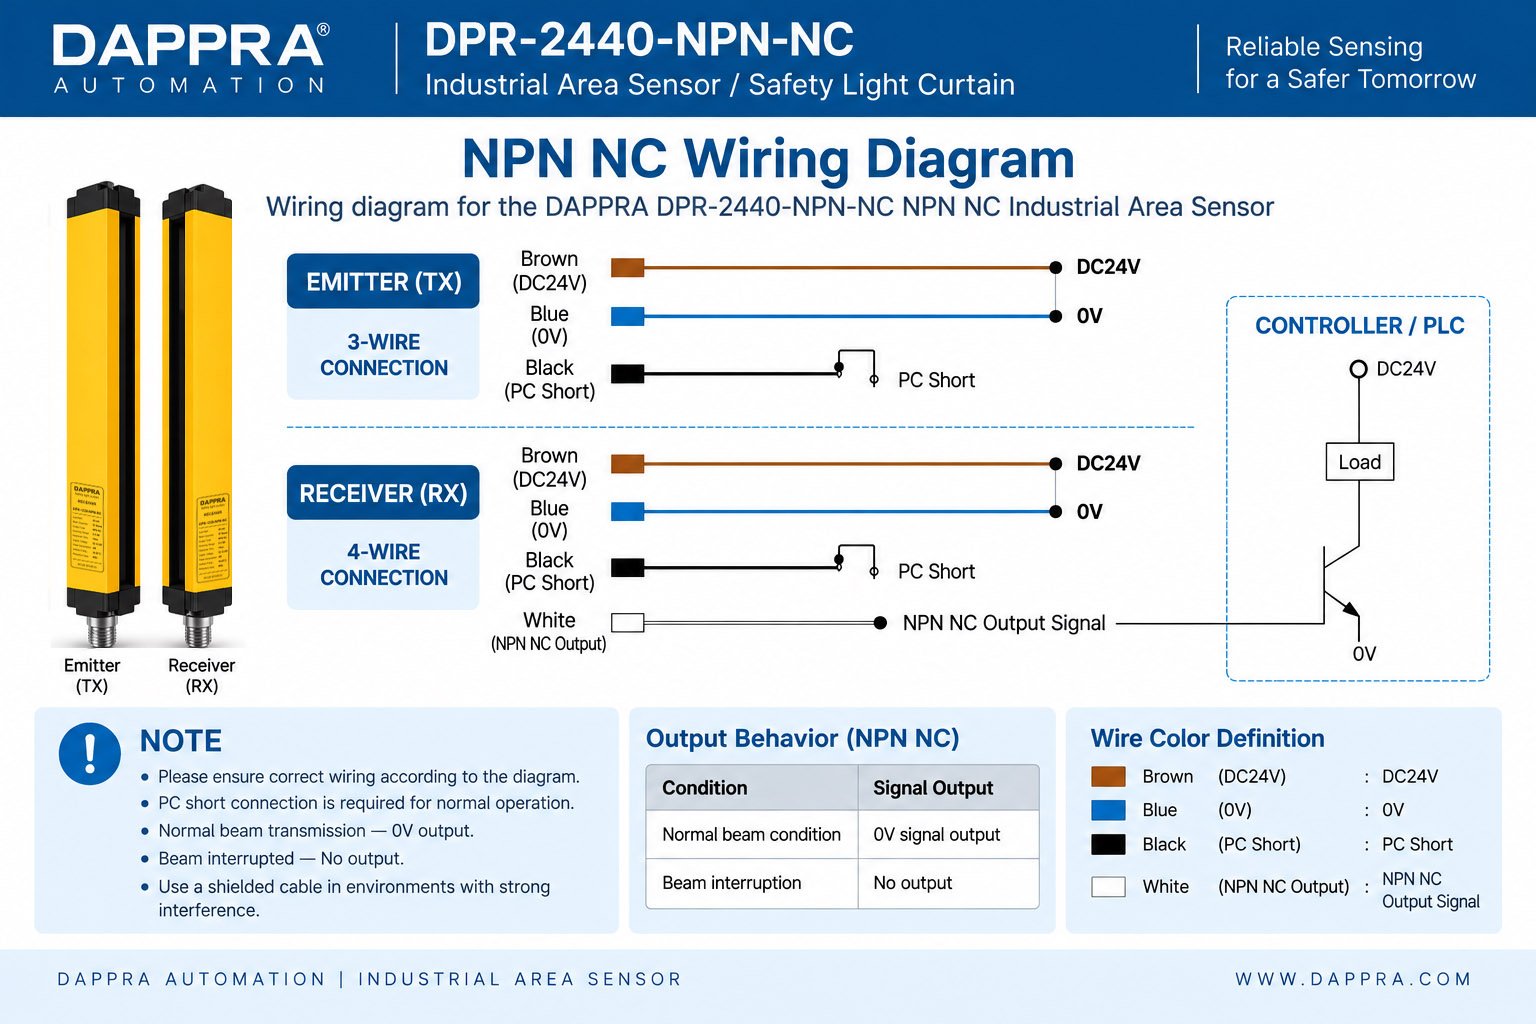
Wiring diagram for the DAPPRA DPR-2440-NPN-NC NPN NC Industrial Area Sensor
Function Check & Test
- Verify power supply — Confirm DC24V ±20% is applied correctly.
- Check alignment — Confirm all 24 beams are detected across the full protection height.
- Test beam interruption — Interrupt each beam with a test object and verify the output changes state.
- Test the machine stop function — Verify the machine stops correctly when the sensor output changes.
- Test the reset function — Verify the machine can only restart after the sensing field is clear.
Troubleshooting
| Symptom | Possible Cause | Action |
|---|---|---|
| Sensor does not power on | Incorrect supply voltage or wiring | Verify DC24V ±20% and wiring polarity |
| Alignment indicator unstable | Misalignment or vibration | Re-align transmitter and receiver; check mounting |
| Output does not change | Beam interruption not detected | Verify object size, beam path and output wiring |
| False detection | Environmental interference or contamination | Clean lens; check for reflective surfaces or strong light |
| Intermittent detection | Loose wiring or unstable mounting | Tighten connections and mounting screws |
Need the DPR-2440-NPN-NC for Your Application?
View full specifications, download installation documents and contact DAPPRA Automation for technical support.
View Product Page →Frequently Asked Questions
How do I install and align a safety light curtain?
+
Install the transmitter and receiver opposite each other using the mounting brackets, then align them so that all beams are detected across the full protection height. Loosen the screws slightly during alignment, adjust both units until the alignment indicator is stable, then tighten the screws. Always verify alignment with a functional test after installation.
How do I align the emitter and receiver of a light curtain?
+
Power on the sensor, then slowly adjust the transmitter and receiver position while monitoring the alignment indicator. The goal is to achieve stable detection of all 24 beams. Once alignment is confirmed, tighten the mounting screws carefully without disturbing the position.
How do I connect an NPN safety light curtain to a PLC?
+
Connect the sensor output to a compatible NPN PLC input. The DPR-2440-NPN-NC uses an NPN NC output, so the output switches to 0V during normal beam transmission and is removed when a beam is interrupted. Verify the PLC input type matches the sensor output configuration.
What should I consider when installing a safety light curtain?
+
Consider the machine risk assessment, the required safety distance, the mounting position, the alignment of the transmitter and receiver, the electrical interface, and the environmental conditions. Always follow the applicable safety standards and use a safety relay or safety controller where required.
How do I troubleshoot a safety light curtain?
+
Start by checking the power supply, wiring and alignment. Verify the output signal changes when a beam is interrupted. Clean the lens if contamination is suspected. Check the mounting screws and cable connections. If the issue persists, refer to the troubleshooting table in this guide or contact DAPPRA Automation for technical support.
Need DPR-2440-NPN-NC for Your Industrial Application?
Contact DAPPRA Automation for product specifications, technical documentation, application information and purchasing support.









Tambah komentar
Anda harus masuk untuk berkomentar.